Here’s a complete step-by-step guide for beginners on how to start a garden from scratch. That is all the information you need in your first year of gardening (and beyond). If you follow through and apply the steps, you will enjoy a good harvest straight out of your backyard when the time comes.
I absolutely love that you want to start a vegetable garden in your backyard and grow your own food. You will see that it is so worth it. Growing vegetables will require your time and effort. However, the reward is great, and there are so many benefits. Gardening is not that difficult, and it is a lot of fun.

Here are the 9 steps to start your vegetable garden at home:
1. Find the right spot to plant your vegetable garden at home
First of all, you have to think about where exactly you want to plant your vegetable garden.
Most vegetables need plenty of sun to thrive, shade retards growth, encourages fungal infections, and slows fruit ripening – so the sunniest spot in your backyard is best for a vegetable garden.
Here you find a complete guide on how much sun a vegetable garden needs.
The ideal place for the vegetable garden is sunny and airy but not windy. It is also crucial that there are no large trees in the immediate surroundings, as they would compete with the vegetable plants for light, air, water, and nutrients.
You should also avoid completely windless locations, such as beds surrounded by walls and hedges, which are not ideal because the moisture evaporates more slowly here. The plants stay wet longer after rain, promoting the spread of diseases.
In addition, part of the beds would lie in the shade, and in early spring, the cold air only slowly escapes, so-called cold traps and cold air pools form, which delay the development of the plants.
When deciding on the right spot for your vegetable garden, you might also want to consider the soil.
Almost all types of vegetables thrive in good, typical garden soil. We speak of typical soil when it’s sandy-loamy, well-drained soil that can hold water and nutrients well.
The soil should also have a good humus content so that a rich microflora and fauna can form. These tiny soil creatures, which are hardly visible to the naked eye, are essential for a living, fertile soil because they release organic substances and convert them into nutrients that can only be absorbed by the plants in this form. If you have a lot of earthworms in your garden soil, it’s a good sign.
Waterlogging and heavily compacted soil are unsuitable for the vegetable garden and must be improved by digging up and adding sand and humus.
Ideally, the spot you choose for your vegetable garden is a level area. If not, you will have to create raised garden beds that are level on the surface, so that water, soil, nutrients, and sunlight will be evenly distributed. Here you find more information on why and how to level your vegetable garden.

2. Determine the size of your vegetable garden
The next question you have to ask yourself is: How big should a vegetable garden be?
If you have little time and experience in gardening, 60-100ft2 is a great size for your vegetable garden for your first year. Of course, you can’t be completely self-sufficient with that, but you will gain precious initial experience without overwhelming yourself right from the start.
However, if you want to go all-in, go for it and make it bigger! As an ambitious vegetable garden beginner, you could also start with a bed area of 200 ft2. Just be aware of the extra time and effort you will have to put in to succeed.
Vegetables need even more attention than garden flowers – you have to water, chop, weed, fertilize several times a year, and watch out for diseases and pests, and not just every now and then, but practically every day, because only well-tended vegetables promise a rich harvest.
And in the end, harvesting and processing the vegetables also involves work.
So, try to consider your time and decide on a size for your vegetable garden that won’t overwhelm you in the process. Remember, you can always go bigger next year.

3. Create your vegetable garden beds in your backyard
As soon as you know where you want your vegetable garden to be and how big you want it, it is time actually to go outside and start creating the beds.
Technically, there are no limits to the formation of the beds. However, a basic rectangular shape has proven its worth, as it later makes planting planning and processing such as hoeing, weeding, and watering easier.
The width of 4 feet per bed is perfect so that you can always get to your vegetables from all sides.
Here is how to create a new vegetable garden bed:
1. Remove the grass
If the selected area for the vegetable patch is overgrown with grass, you should definitely remove the grass. Grass is a keen competitor to your vegetables for light, nutrients, and water and will keep regrowing unless you remove it thoroughly.
In addition, soil that is overgrown with grass often contains wireworms, which are particularly fond of eating potatoes and other veggies in the ground.
Clearing the surface of the bed from grass is indeed an effort. You may have heard the tip of covering beds with cardboard to simply let the lawn die off underneath. Unfortunately, I have to advise you against such methods, which sound simple at first glance. Large stones or roots of trees and bushes will remain and could keep the water from your vegetables.
You must first mow the lawn as short as possible to remove the grass. That will make it easier for you to cut out the roots later. To do this, dig deep into the earth with a sharp spade and lift the individual clods out.
You can add the sods to the compost. They decompose into valuable fertilizer. When you have completely removed the roots, you can dig up the soil to the depth of a spade. You will still find some root remains. Thoroughly remove all of these and any stones you see in the bed.
2. Dig up the soil
After removing the grass, roots, and stones, you dig up your selected and staked area.
In the case of compacted and hefty soils, you should dig two spades deep:
Start at the front of your planned area and cut out the turf about 1.3 feet wide, spade-deep. Set the sods aside. Now dig up the underlying subsoil.
Work another 1.3 feet in the bed. Now you can put the excavated sods in the already dug section. Repeat these steps until the entire bed area is finished.
In the end, you can work the remaining soil from the first section into the entire area.
At this point, when digging up the deeper layer, you can easily work in manure, compost, or even very finely(!) chopped-up turf to increase nutrients in your garden bed.
When digging, most likely, you will still come across all kinds of small and large stones in the soil, which you should all remove from the bed. (If you want, you can pile these up in a heap in a sunny spot to create a dry biotope that lizards, for example, like to take on.)
3. Set the bed border
A bed border prevents the surrounding lawn from growing back into your bed.
You can build a bed boundary out of stones, wood, or commercially available lawn curbs. You should sink the border 4 inches deep into the ground no matter which material you choose. With the help of a few pegs and string, you can make sure your border is straight.
You don’t plan on digging your vegetable garden bed in a grass area but already have beds full of weed instead? Here are the 5 best ways to clear a garden full of weeds.
What supplies do I need to start a vegetable garden?
Here is a list of all the supplies you need to start your vegetable garden at home:
- Garden Hoe
- Rake
- Shovel
- Spade
- Fork
- Gardening Gloves
- Kneeling Pad

4. Decide which vegetables to grow in your garden
Before you throw yourself at all the different vegetable plants as a vegetable garden beginner, I recommend you to stick to the candidates that are beginner-friendly and easy to care for in your first year. Here is a list of the almost sure-fire successes among the vegetable plants:
Easy vegetables to grow
- Radish
Radishes are the easiest vegetable to grow. They grow extremely fast, and you can harvest them three to four weeks after sowing. Radishes like to grow in partial shade and can be sown anywhere between March and September. You could also sow them between other, slower-growing vegetables. Before they need the space, the radishes will already be harvested.
- Lettuce
Lettuce germinates in the light, so don’t cover the seeds with soil when you sow it. That also means that the seeds will dry out faster, so make sure they are always nicely watered and stay moist. Otherwise, lettuce is uncomplicated.
Instead of harvesting the whole head, you can also cut off the leaves about 1.5 inches above the ground, then it will grow back quickly, and you don’t have to plant or sow new lettuce as often.

- Zucchini
A zucchini plant needs an area of 10ft2 in the bed, so a lot of space. However, a single plant yields a lot and can then cover a whole family’s zucchini needs for the season.
Zucchinis need relatively well-fertilized soil and grow well with fresh manure.
- Chard
Swiss chard has never caused me any problems in the garden. It is a super easy vegetable to grow, and the colorful varieties with their pink, yellow, red, white, and orange stems are a real eye-catcher.
Swiss chard can be harvested as early as eight to ten weeks after sowing, and if you only cut the leaves, it will grow back like lettuce.

- Beetroot
Another easy vegetable to grow is beetroot. Not everyone likes them, but if you do, you should definitely grow some in your vegetable garden at home.s
When harvesting, carefully twist off the leaves. You can eat the leaves like spinach, and they taste like chard.
- Garlic
If you want to grow garlic, simply stick the cloves (pointed side facing up) into the soil in the fall and keep the bed somewhat weed-free, for example, with a layer of mulch. Over winter, it will start to grow thick bulbs, and you will have a beautiful harvest in spring.

- Onions
Growing onions as onion sets is almost as easy as growing garlic. Simply buy a net of onion sets and stick them in the ground. Once the bulbs are 4 inches tall, you can cover the soil with wood chips to suppress weeds.
You can also sow onions, but onion sets are less complicated and have a growth advantage of several weeks. The only downside is that onions grown from onion sets don’t store as well as those sown.
Of course, you can also choose to plant other vegetables than mentioned above. However, I highly recommend that you plant a couple of easy veggies for sure. Picking easy things to grow in a garden will at least guarantee some success for your first year.
5. Plan your vegetable garden layout
After you decide what to grow in your vegetable garden, the next step is to create a plan.
You could first draw a scale floor plan of the garden. With that, you can easily plan “on the drawing board” and possibly make changes until you decide to stick with it.

Crop rotation
You should lay out your vegetable garden into four equal plots and apply crop rotation to keep your soil and plants healthy. When you alternate vegetables from different plant families, it prevents the spread of diseases and pests in the soil and keeps the nutrients balanced.
This type of division has had a long tradition in cottage gardens and is scientifically proven to work.
So, you should lay out your vegetable garden at home in the four following categories:
- Heavy feeders (e.g., potatoes, leeks, peppers, cucurbits, cabbages, celery)
- Medium feeders (e.g., carrots, turnips, onions, radishes)
- Light feeders (e.g., herbs, beans, peas, radishes, lettuce, onions)
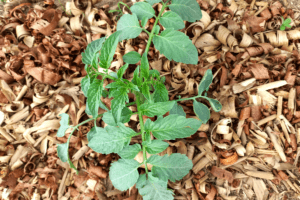
- Perennial and permanent crops (e.g., asparagus, rhubarb, and vegetables that can grow again and again in the same place, e.g., tomatoes)
Naturally, the 4th plot will stay the same over the years. However, in the other 3 plots, you will be rotating:
In each subsequent year, the medium feeders migrate to the bed previously occupied by the heavy feeders. The light feeders follow the middle feeders. The heavy feeders relocate to the plot previously occupied by the light feeders.
Crop rotation doesn’t mean your soil won’t need compost, rotted manure, or organic fertilizer anymore. However, it will contribute to healthy soil and lead to a greater harvest in your backyard vegetable garden at home.
Companion planting
Another concept worth considering when creating your garden plan is companion planting.
Companion planting is the simultaneous cultivation of different types of plants on the same garden bed or close by for mutual benefits such as enhancing each other’s growth or protecting each other from pests.
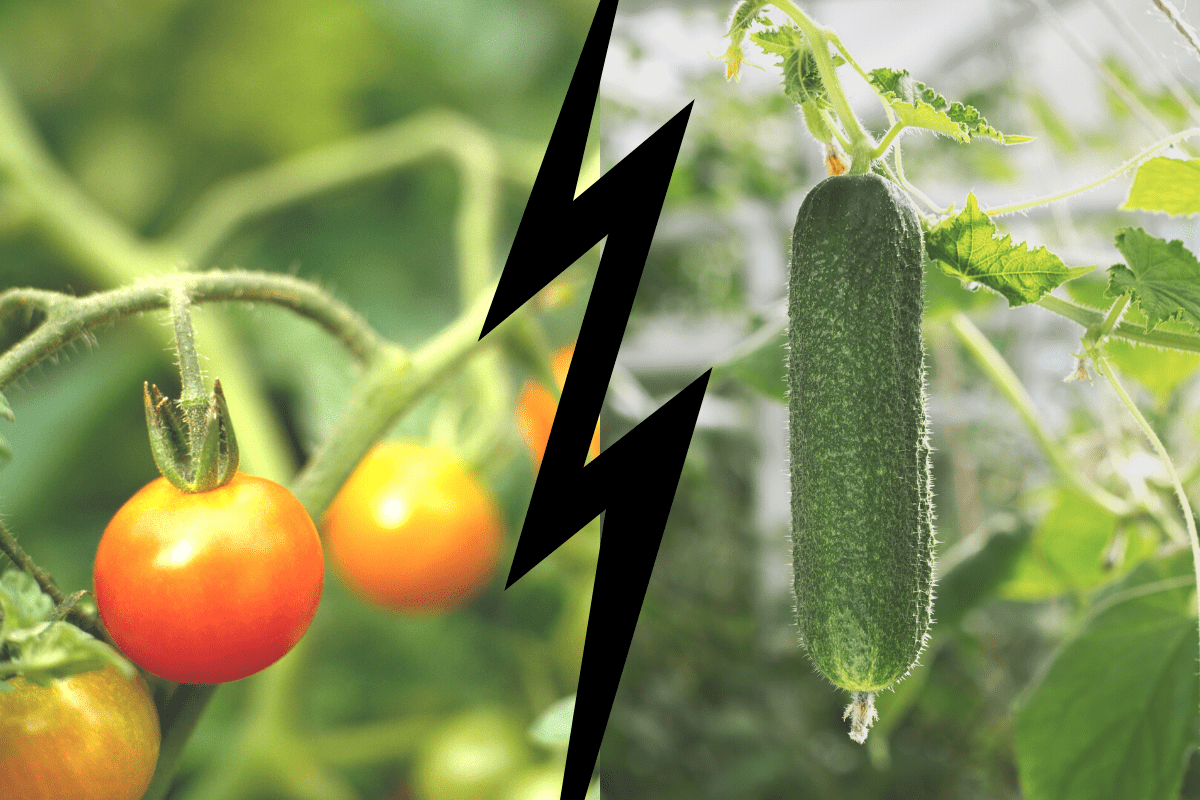
So, for example, here is why you shouldn’t plant cucumbers near tomatoes.
In this concept, the crop rotation does not take place from year to year but from row to row, or even from plant to plant.
When planning, start with the main crops with a longer standing time, such as head cabbage, celery, and runner beans. Then add the fast-growing crops such as lettuce, spinach, radishes, kohlrabi, etc.
Here is a table with some of the most popular companion plant combinations for you.
(However, companion planting is not a scientific method, it is based on experience – which is why you may also find different combination recommendations in other tables.)
| Vegetable | Companion plants |
| Asparagus | Eggplant, Peppers, Tomatoes |
| Beans | Carrots, Cabbage, Cauliflower, Cucumber, Corn |
| Beets | Broccoli, Corn, Garlic, Onion, Lettuce, Cauliflower |
| Broccoli | Beets, Celery, Lettuce, Potatoes |
| Cabbage | Beets, Potatoes, Onion, Celery |
| Carrots | Beans, Lettuce, Peas, Tomatoes, Onions |
| Cauliflower | Beans, Celery, Onions |
| Celery | Cabbage, Spinach, Tomatoes, Onions |
| Corn | Beans, Cucumber, Peas, Pumpkin, Potatoes |
| Cucumber | Peas, Lettuce, Celery |
| Eggplant | Spinach, Peppers, Potatoes, Beans |
| Garlic | Cucumber, Lettuce |
| Lettuce | Carrots, Radish, Beets |
| Onions | Broccoli, Cabbage, Lettuce, Tomatoes |
| Peas | Beans, Carrots, Corn, Cucumber |
| Peppers | Tomatoes, Carrots, Cucumber, Radish |
| Potatoes | Corn, Cabbage, Peas, Eggplant |
| Pumpkin | Corn, Squash |
| Radish | Beets, Carrots, Peas, Spinach, Beans |
| Spinach | Eggplants, Lettuce, Peas, Radish |
| Swiss Chard | Beans, Celery, Cauliflower |
| Tomatoes | Asparagus, Beans, Carrots, Celery, Lettuce |
| Zucchini | Beans, Garlic |
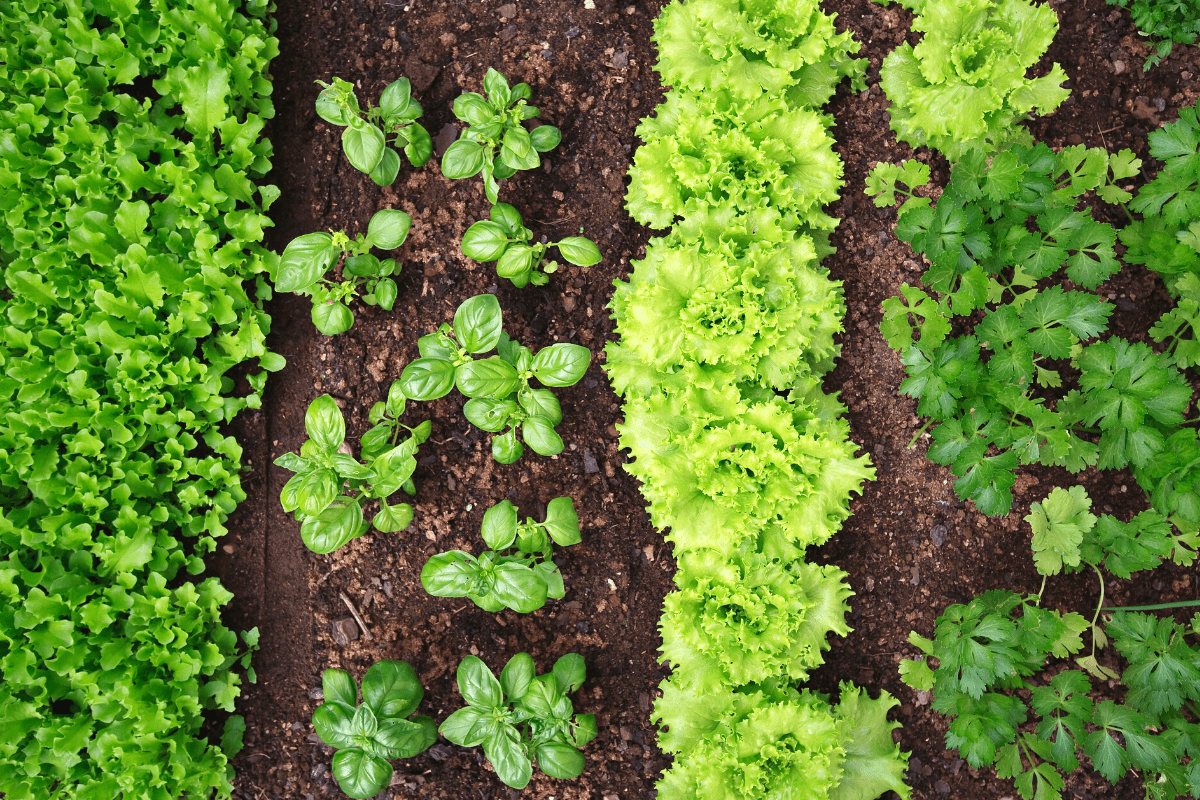
Generally, I recommend growing vegetables in rows. So, even when companion planting, you plant one row of one plant and then the row next to it with the companion plant: e.g., next to a row of carrots, you plant a row of onions and then another row of carrots.
You can also combine 3-4 different vegetables next to each other in rows- for example, cucumbers, onion sets, radishes or carrots, onions, radishes, and spinach. Try to place slender plants such as leeks next to those that grow bushy, rosette-shaped, or wide and sprawling.

Sunlight
If your vegetable garden is not entirely exposed to sunlight all day, you also need to consider which plants could grow in partial shade and which you will have to put in a sunny spot for sure. Here is a detailed guide on how much sun a vegetable garden needs.
6. Cultivate seeds or buy seedlings
When it comes to vegetables, you can choose between self-cultivation by sowing seeds and buying young plants that have been grown early. You can get seed from specialist retailers almost all year round. However, young plants are usually only available for a few weeks in spring during the main planting season.
Whether you buy your vegetable plants ready-made or grow them yourself from seeds, both have advantages and disadvantages:
Professional gardeners usually prefer store-bought vegetable seedlings; they are vigorous and healthy. However, they are also a lot more expensive than seeds. In addition, only a few varieties are usually offered as seedlings. Growing your vegetables from seed gives you a much wider range of varieties to try in your garden at home.
There are also some vegetables you will always grow from seed because there is no point in growing them into seedlings first. Carrots and most other root vegetables are always sown directly into the bed.

7. Plant your vegetable seeds and seedlings
After completing all the steps above, you are finally at the point where you will go out and plant your seeds and seedlings in your garden. How exciting!
Grab the spade, and remember to stick to your garden layout plan.
Make sure to inform yourself about each plant individually on how deep you should put the seeds and whether to cover them or not. Also, be aware of the spacing between the individual seeds or seedlings in a row. Most times, you can find that information directly on the seeds package.
What month should you start a garden?
Between March and May is the best time to start your garden. Ideally, you wait at least two weeks after the last frost date in your area before planting the seeds. That way, you ensure that the soil temperatures have warmed up enough and the seeds will be able to germinate.
However, if you start a vegetable garden from scratch, you can start planning and preparing much earlier than that. If you want to, you can even dig and prepare your beds in the fall so that you won’t have as much work to do in spring.

8. Water and take care of your vegetable garden
Water
Here is a complete guide on how often you should water your vegetable garden.
After sowing or planting, it is crucial to keep the soil moist until your plants are well established. After that, usually, it is best to water your garden two to three times a week. Deep watering a few times per week is better than smaller daily sprinkles for root growth.
Weeding
Until your vegetable plants are well established, you also have to weed regularly. A little weed doesn’t seem a bad thing, but as soon as your vegetable plants don’t have enough room, their growth will stunt. Once your plants are tall enough, I recommend mulching the beds.
Mulch is great for a vegetable garden. The benefits are weed control, disease prevention, moisture conservation, soil enrichment, and maintenance of soil temperatures, and it makes your garden look good. Additionally, mulch reduces foliage and disease, which results in a greater harvest.
Here is a complete guide on the best mulches for a vegetable garden.
Fertilizer
You should also research the fertilizer needs of each type of vegetable you grow. Some types don’t require any fertilizer at all, while for others, it is essential to provide them with enough nutrients at the right time so that you can then harvest appropriately at the end.
Make sure to use natural (compost, manure, etc.) or organic fertilizer only. Synthetic fertilizers have the potential to harm your garden and environment, whereas organic fertilizers will help improve the overall soil quality and have many other benefits for your vegetable plants. Organic fertilizer is much more sustainable.

9. Harvest your vegetables
Well, that’s it. Once you followed all the steps above, you have successfully started your vegetable garden at home. Congratulations! The last step will be the harvest.
Some veggies will grow faster and others slower, depending on your chosen types. Whenever they are ready, harvest and enjoy! You can also preserve part of the harvest for winter if you want to.
All your hard work will now be paid off, and you will see that there is truly nothing that compares to the taste of vegetables from your very own backyard garden. Starting a vegetable garden at home is so worth it.
Here is what to do with your vegetable garden at the end of the season and how to best cover it in winter.
Happy gardening!